
That sponge you used for foundation three days ago is probably still holding old makeup, oil, and skin residue – and putting it back on your face is not a great deal. If you want smoother makeup, fewer breakouts, and better value from every tool you buy, knowing how to clean makeup sponges is basic maintenance that pays off fast.
A dirty sponge does more than look bad. It can make foundation apply unevenly, cause concealer to cling in patches, and leave your complexion looking dull instead of fresh. Cleaning it regularly helps the sponge stay soft, bouncy, and effective, which means you get better results without replacing it as often.
How to clean makeup sponges without damaging them
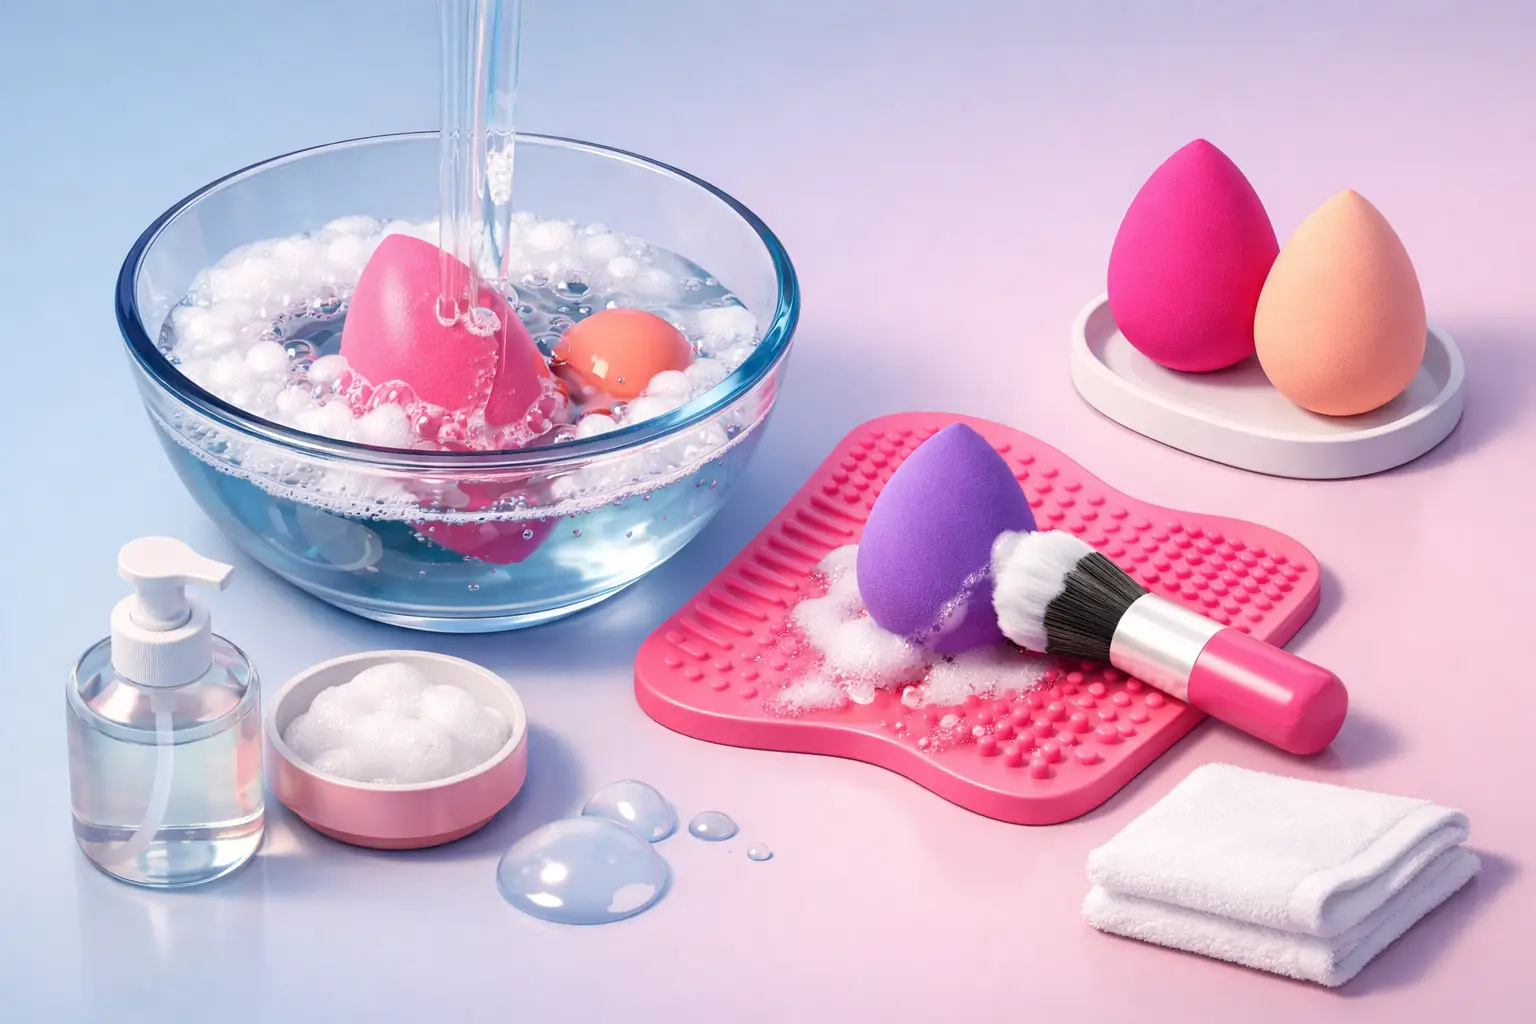
The main goal is simple: remove product buildup completely without tearing the sponge or leaving behind harsh soap. The safest method is gentle washing with warm water and a mild cleanser. You do not need anything fancy, but you do need to be thorough.
Start by running the sponge under warm water until it expands fully. Warm water helps loosen foundation, cream blush, concealer, and sunscreen trapped inside. Once it is saturated, add a small amount of gentle soap or cleanser directly to the sponge or into your palm.
Work the cleanser in by squeezing the sponge repeatedly. Avoid twisting or pulling it hard, especially around narrow tips or edges. As the makeup lifts out, you will see the water change color. Keep rinsing and squeezing until the water runs clear.
If the sponge is heavily stained, one wash may not be enough. That does not always mean it is still dirty. Some pigments, especially from long-wear foundation or bright cream products, can leave stains even after the sponge is clean. What matters more is whether residue continues coming out during rinsing.
When it is clean, press out excess water with a towel and let it air dry in an open area. Do not seal a damp sponge in a makeup bag, drawer, or container. Trapped moisture can lead to odor and mildew, which turns a budget-friendly tool into something you need to toss.
The best cleanser to use
If you are wondering what works best, it depends on what is inside the sponge. For light daily makeup, a mild liquid soap can do the job. For heavier coverage products, oil-based foundation, or stubborn cream formulas, a brush and sponge cleanser often cuts through buildup faster.
Baby shampoo is a popular option because it is gentle, but any mild cleanser without aggressive fragrance or heavy moisturizers can work. Bar soap can also clean a sponge well, especially if you rub the wet sponge directly over the soap and squeeze repeatedly. The trade-off is that some bar soaps rinse out more slowly, so you need extra care to avoid residue.
Dish soap is sometimes suggested online, but it can be too stripping if used often. A one-time deep clean may be fine in a pinch, but regular use can shorten the life of the sponge and leave it feeling dry.
How often should you clean a makeup sponge?
If you use your sponge every day, the best routine is cleaning it after each use or at least every few uses. That may sound like a lot, but makeup sponges hold moisture and product deep inside, so they get dirty faster than many people realize.
For occasional use, washing it once a week may be enough, as long as you let it dry fully between uses. If you are using the sponge for acne-prone skin, liquid foundation, or cream contour, more frequent cleaning is the better move. Those products create the kind of buildup that can affect both skin clarity and makeup finish.
A quick rinse is better than nothing, but it is not the same as a real wash. If old makeup is still inside, the sponge is still dirty. Think of cleaning as part of your makeup routine, not an extra step.
Signs your sponge needs immediate cleaning
Sometimes the sponge tells you it is overdue. If it smells off, feels stiff, stops expanding properly, or starts blending makeup in streaks, wash it right away. Visible patches of dried product are another clear sign.
If you notice irritation or more breakouts than usual, your tools may be part of the problem. Makeup itself gets blamed often, but a sponge that has not been cleaned in days can be just as likely to cause trouble.
Can you microwave or soak a makeup sponge?
You can find quick-clean hacks everywhere, but not all of them are worth trying. Microwaving a sponge in soapy water is one of the most talked-about methods. It may help loosen buildup, but it is not the most reliable or safest option. Heat can damage some sponge materials, and if the sponge is not fully wet, it can burn.
Soaking a sponge in warm, soapy water is safer and often effective, especially before washing. Let it sit for several minutes to soften dried makeup, then squeeze and rinse thoroughly. For a deeper clean, repeating the soak-and-wash cycle works better than trying one harsh shortcut.
If your sponge has delicate texture, visible wear, or small tears, skip heat-based methods. Saving a few minutes is not worth ruining the tool.
How to deep clean makeup sponges
A daily wash handles fresh residue, but sometimes you need a deeper clean. This is especially true if you use full-coverage foundation, long-wear formulas, or multiple cream products with the same sponge.
Begin with a warm water soak. After the sponge softens, massage in cleanser and squeeze repeatedly. Rinse and check whether product is still coming out. If it is, apply more cleanser and continue until the rinse water runs clear.
For extra stubborn buildup, gently press the sponge against a textured cleaning pad or rub it in your palm while lathered. Keep the pressure light. The idea is to dislodge trapped makeup, not wear the sponge down faster.
A deep clean is also a good time to inspect the sponge closely. If you see cracks, crumbling, or sections that no longer spring back, cleaning will not fix that. At that point, replacement is the better value.
When to replace your makeup sponge
Even if you know exactly how to clean makeup sponges, they do not last forever. Most makeup sponges need replacing every one to three months with regular use. The timeline depends on quality, frequency, and how well you care for them.
A sponge that stays soft, dries properly, and washes clean can last longer. One that stays stained, feels rough, tears easily, or holds odor should be replaced sooner. Stretching the life of an old sponge too far can cost you more in poor makeup application and possible skin issues.
If you like keeping extras on hand, that is usually the most practical option. Rotating between clean sponges gives each one time to dry fully and helps you avoid using the same damp tool over and over.
Common mistakes that make sponges dirtier
One of the biggest mistakes is storing a damp sponge in a closed case. It may seem neat and travel-friendly, but without airflow, moisture gets trapped fast. Another common problem is using too much soap and not rinsing it out fully. Leftover cleanser can irritate skin and affect how makeup sits.
Using hot water is another issue. Warm water is helpful, but very hot water can break down the sponge material over time. Pulling at the sponge with your nails while cleaning can also create tears that trap even more product later.
And then there is the habit of waiting until the sponge looks awful before washing it. By that point, buildup is harder to remove, and the sponge may already be wearing out.
A simple routine that saves money and helps skin
The easiest way to stay on top of it is to keep your sponge-cleaning routine short and realistic. Wash it with warm water and a gentle cleanser, rinse until clear, press out moisture, and leave it somewhere with airflow. That takes only a few minutes and keeps your makeup tools working the way they should.
For shoppers who want solid results without overspending, this is one of those small habits that makes every beauty purchase go further. A clean sponge helps your makeup apply better, helps protect your skin, and helps you get more use out of what you already own. Health Beauty Care shoppers know the value of stretching every order wisely – and a fresh, clean sponge is one of the simplest ways to do it.
Clean it before it becomes a problem, let it dry properly, and replace it when it stops performing. Your makeup will look better for it, and your skin usually will too.